In this post, we walk you through the steps of hosting a static website project on Cloudflare Pages.
Why Cloudflare Pages?
Multiple options exist for static website hosting. This time we will explore the Cloudflare pages option.
Cloudflare pages have free and paid tiers.
At the time of writing this post, their free tier provides:
- Unlimited sites
- Unlimited visitor bandwidth
- 100 custom domains per project
This is more than enough even for a website with a large number of users.
In addition, Cloudflare has one of the most robust cloud platforms globally and they are well known for the web and edge security solutions.
Good reason to explore the process of hosting web pages on their platform.
Prepare your project
What will you need to follow this tutorial and to deploy a static website to Cloudflare pages?
- Cloudflare account – if you don’t have it, create one with a free plan.
- GitHub account
- Static website. You can use the one we have created in the earlier tutorials)
Connect GitHub to Cloudflare
Cloudflare provides good documentation that covers website hosting setup.
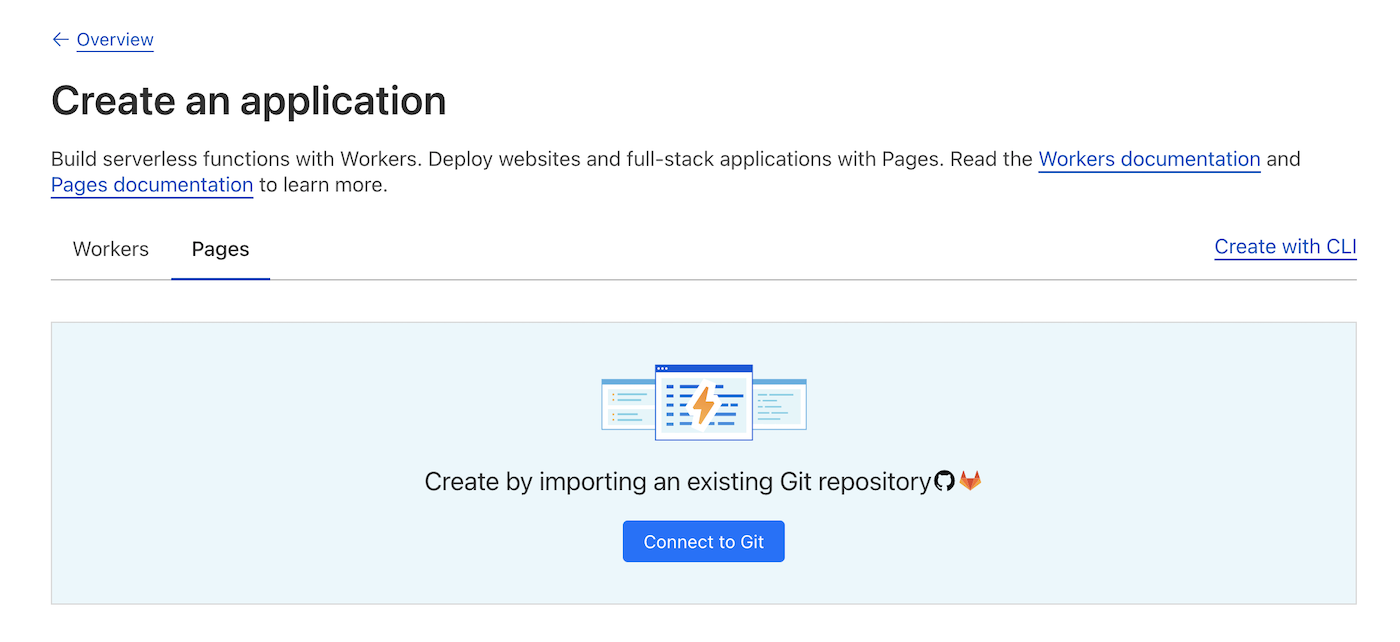
Log in to your Cloudflare account, and find the Workers & Pages section on the left menu.
Once you are in this area, select Create an application option.

We could deploy static webpages with CLI but, connecting the GitHub repository will allow us to automate future deployments in a version-controlled way.
The process of connecting the GitHub repository is straightforward and follows the standard OAuth flow.
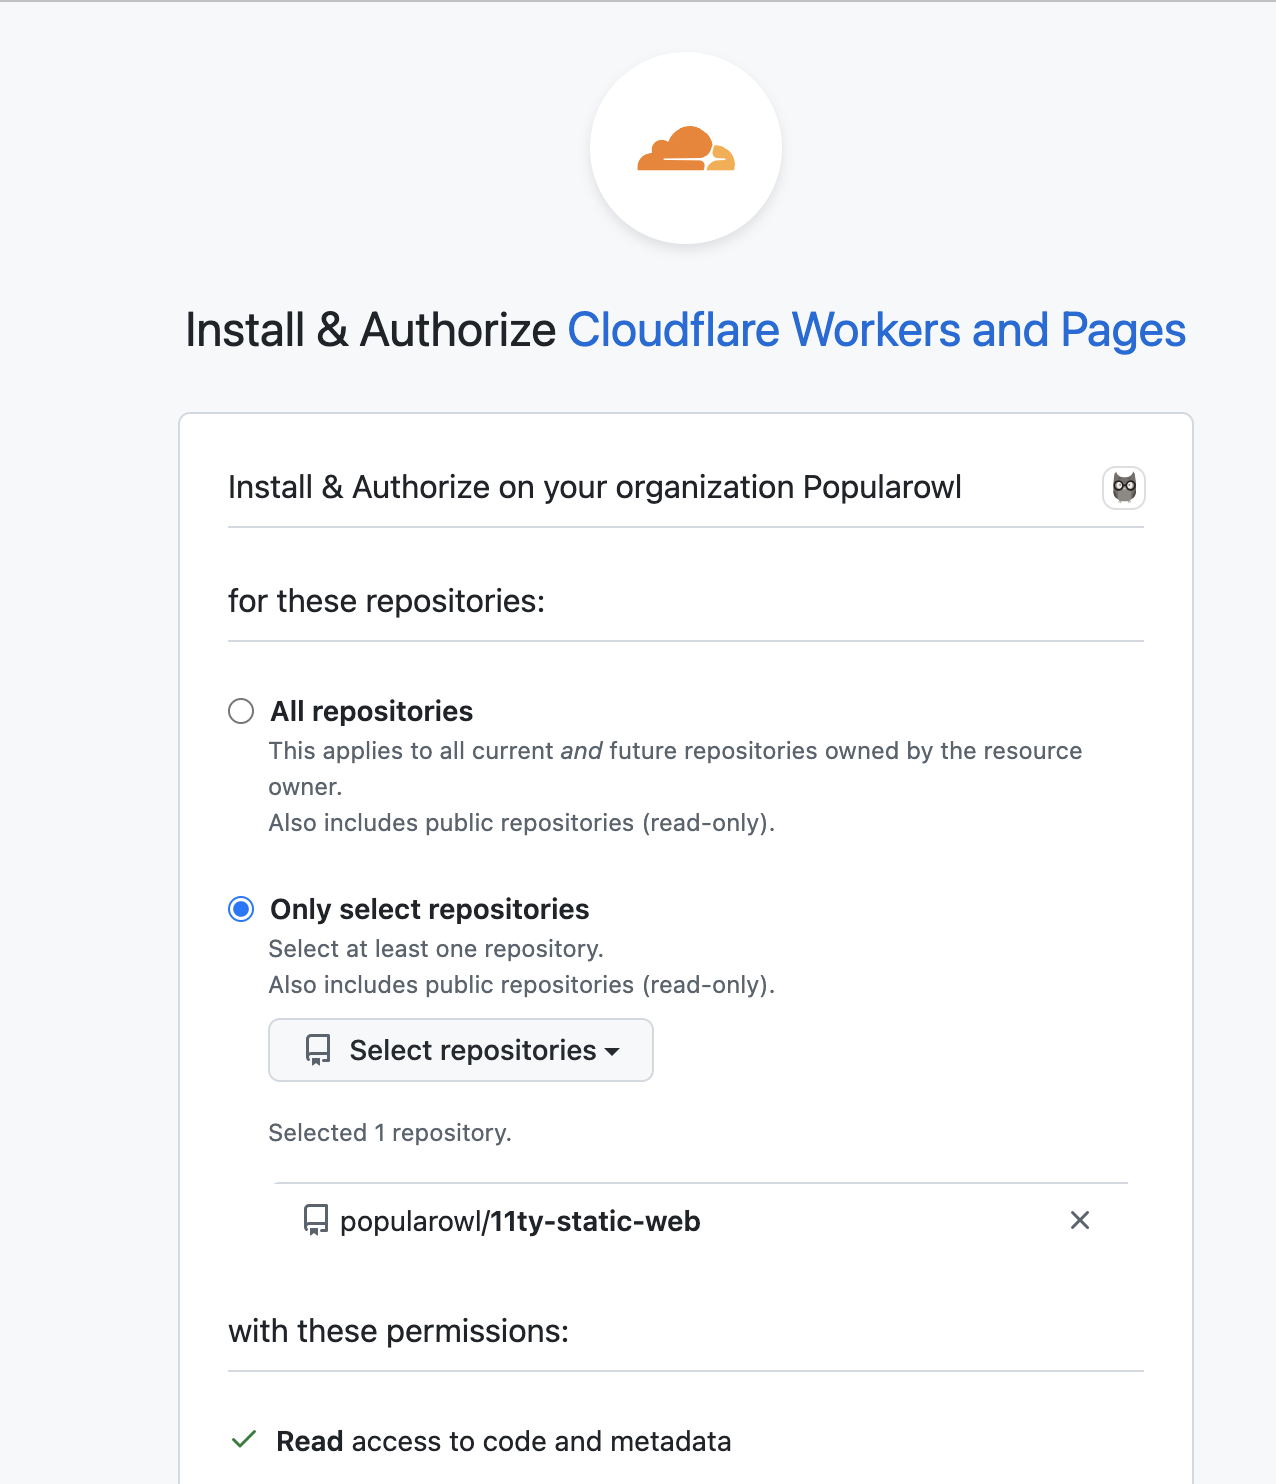
You will be redirected to GitHub auth to confirm the authorization and select what access you provide to Cloudflare.
Select the single specific repository you use for your project code. We don’t want to give Cloudflare more access than is needed.

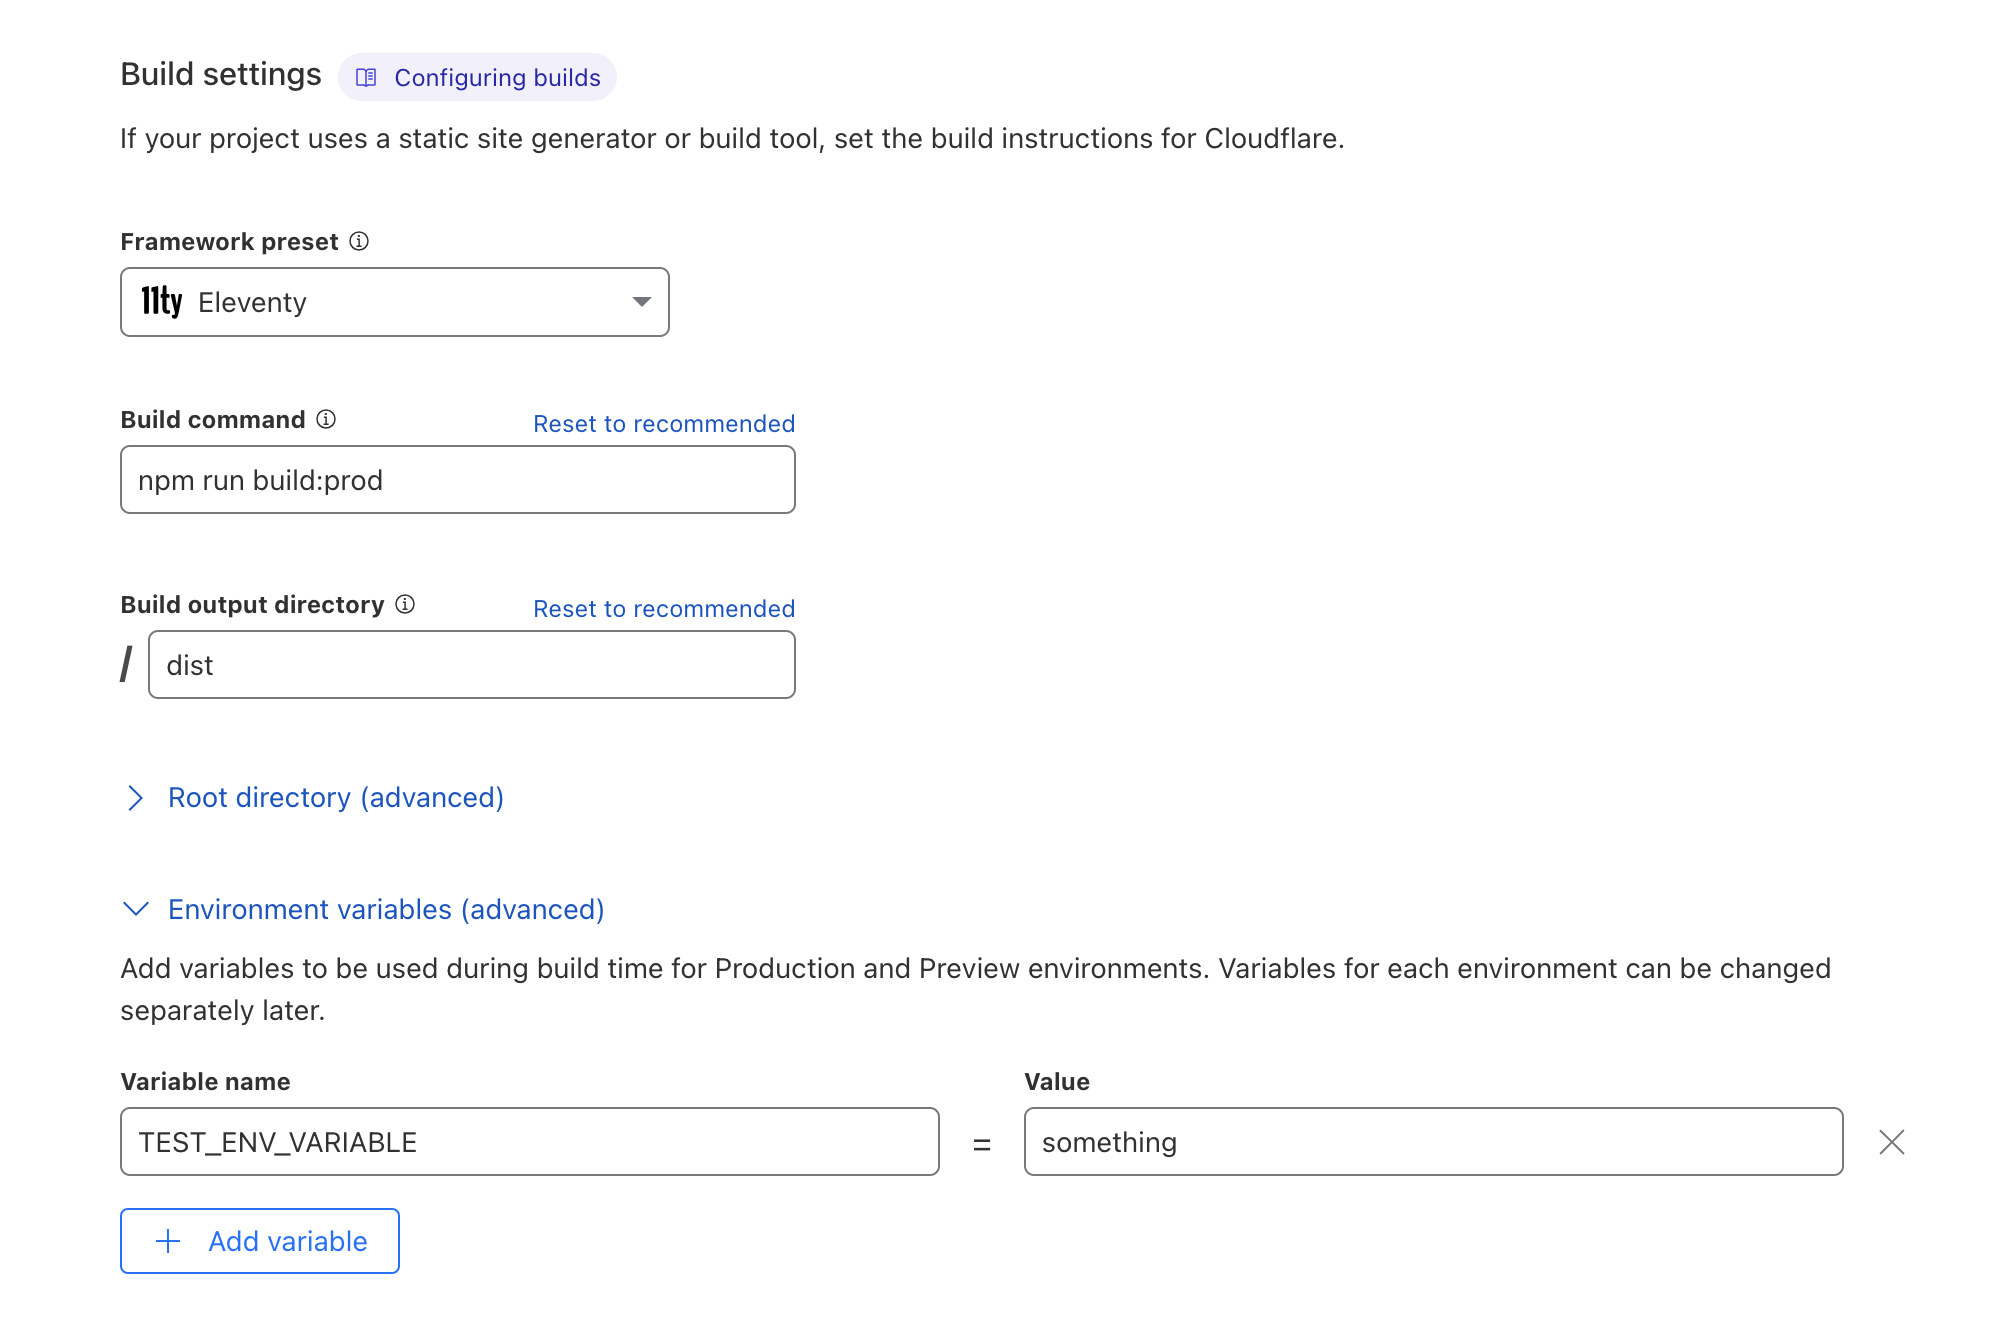
Next, you will be asked to provide specific details about the static website project.
Including the build command and the build output directory.
This is required as before deployment Cloudflare will run the build and will use the static website assets from the output directory.
Enter the commands you use, or use the following if you trying out our sample website.

You can optionally provide environment variables if your website uses them.
Once settings are saved, Cloudflare will run the build and will enable your static website hosting.
It will also generate the public URL.
The option to add a custom domain name is also there.
Make changes
As GitHub is now connected to your deployments, every time you commit new changes to the main branch, Cloudflare will perform a new code upload for your website.
It’s all automated.
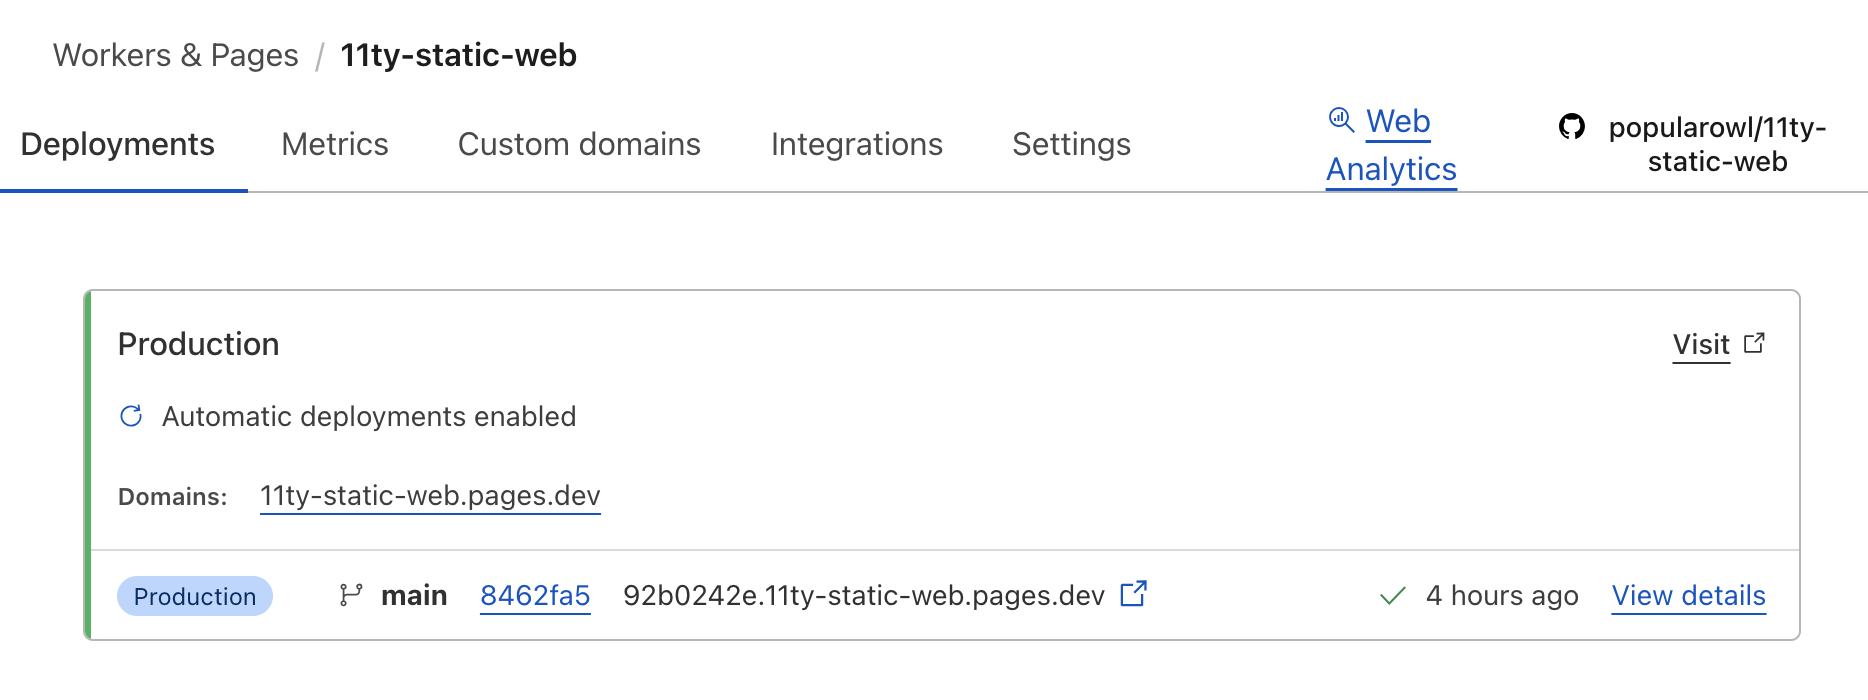
You can always check the status of your static site and which code commit is deployed by going to the Workers & Pages section and selecting the project.
Here is the information you will see.

Notice the deployed commit hash, timestamp, and the actual URL for the website. In my case, it’s 11ty-static-web.pages.dev
Summary
In this tutorial, we have deployed a simple static website to Cloudflare pages hosting.
It didn’t take long and was intuitive.
You can create an unlimited number of such sites, and up to 100 custom domains pointed to your projects.
The comments section is open under this post in case you want to discuss your experience with Cloudflare.
Post Your Comment